|
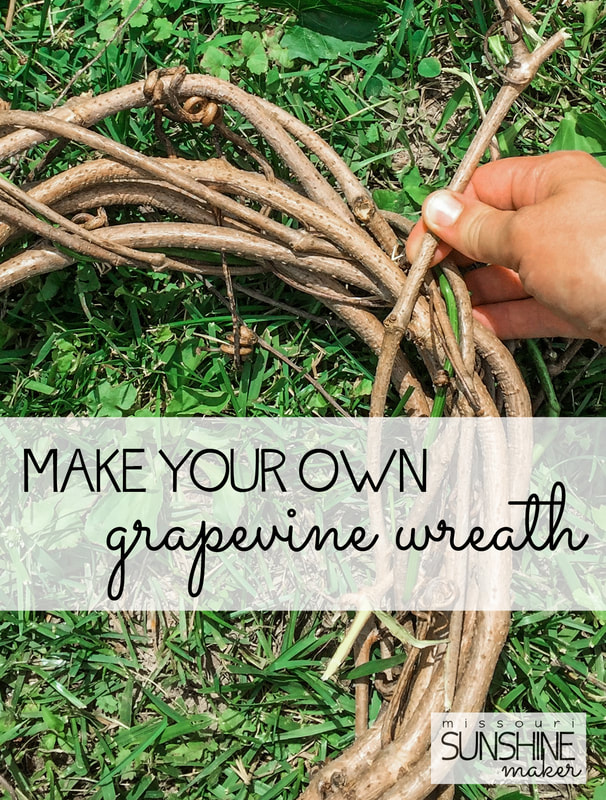
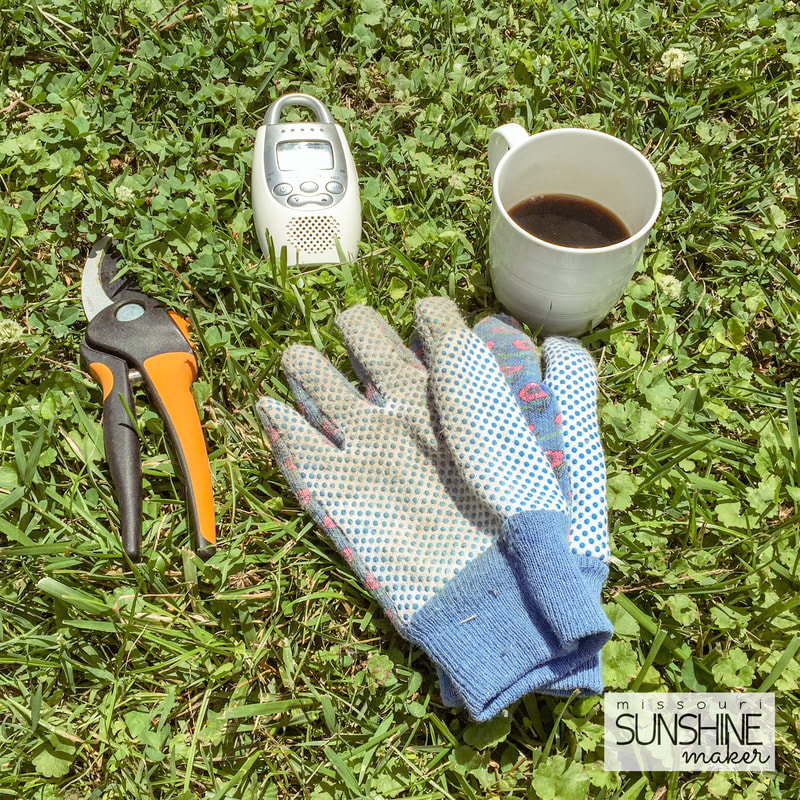
This post contains affiliate links, but all opinions are my own. We have wild grapevines everywhere. Yes, everywhere. They grow up the trees and over the bushes, strangling out the sturdiest plants. I was looking at a pile of them last fall, thinking about how useless they were. But, the thought crossed my mind – is this what grapevine wreaths are made of?! Is it as simple as using these weeds? Yes, it is! And, it’s super easy. Today, Michael was tearing out some honeysuckle that was covered in vines. He was dragging everything to the burn pile, but left the vines for me. I always have a few distractions while I work on projects like this. Today it was the Littles trying to climb the ladder to the slide, Daniel finding a new kind of frog (Peter thinks it was a green tree froglet), and Johanna wanting to be pushed on the swing. But it’s not too hard to watch all the goings-on while making these simple wreaths. If you don’t have invasive grapevines at your house, I’m sure you have a friend who has some – and they would appreciate your help in getting rid of them! Or, perhaps if you call some local parks, they would let you forage for some, too. Take a trash bag or plastic tub and bring home a big pile. The hardest part is untangling the vines and removing the leaves. You can use the stiff, woody part of the vine as well as the softer, green stems. Be sure to leave the pretty, twisty bits for the gorgeous texture and detail. One quick warning: don't pick your vines and then wait a week to build your wreath. They'll dry out, get brittle, and crack when you try to form them. Don't ask me how I know... You’ll need a pair of garden gloves, pruning shears (these orange ones from Fiskars are great, and when I leave them lying in the grass, I can still find them), a cup of coffee, and a baby monitor so you know when the baby wakes up from its nap. If you have a sun hat that your mother-in-law gave you for your birthday, even better. Decide how large you want the wreath to be. If you need to be exact, use something round as a guide, such as a trash can or bowl. Last year, when I wanted a very oversized wreath to hang above my mantle, I formed it on top of a round table for reference of the shape and size. But, eye-balling it is usually how I do things. Begin looping the vines into a few circles, coiled like a rope. Then, as you get close to the end of the vine, wrap it around the wreath to hold everything together. Tuck the end in between the vines. When it dries, it’ll stay put. Repeat until your wreath is as thick as you need. My super-large wreath (not pictured) had to be extra-thick to support its own size, but a smaller one could be thinner. Use your best judgement. I love the messy texture I can add when I make my own wreath. If you want a neater product, watch out for lumpy parts and try to add less bulk at those spots to keep everything even. These four wreaths took me less than an hour, although I might go back and add more to a couple of them. When you are finished, leave the wreath lying flat to dry for several days or up to a week. I leave them on the table on my front porch, but a garage or other dry place would be fine. If you want an oval wreath, you can place it between a couple bricks or pavers to hold your desired shape while it dries.
I really love the simplicity and texture of a plain grapevine wreath, but there are so many quick ways to embellish them. Check out my Pinterest boards for ideas of what to do with grapevines wreaths!
0 Comments
Your comment will be posted after it is approved.
Leave a Reply. |
AuthorSusan is a mother of six: five boys and one sweet girl. She is probably busy right now diapering a child, getting someone a snack, and looking for a lost shoe. Now, where is that coffee cup? Archives
October 2020
Categories
All
|


 RSS Feed